Search This Blog

Showing posts with label catherine reinke. Show all posts

Saturday, September 10, 2011

Recycled spooky bottles for halloween

Take your used glass bottles and tins and turn them into a HALLOWEEN spookiness 

COLLECTION OF BOTTLES  and tins that I have recycled into spooky Gothic HALLOWEEN props , great for filling with candy corn or dried herbs


All of them were designed to go together and be stacked


This is made from a tin that is used for stone ground oats made in Ireland. It is quality tin that snaps air tight . I made 2 tins to match and they stack nicely on top o f one another

For the most part I made sure that all the bottles had a skull and cross bones for the universal language of POISON  this also gave the collection a unifying element  

Here are 4 jars in front of my fan drying...they have just a finishing touch of glitter applied to them.


One of my work tables, always a mess I must confess, I work in a frenzy, pulling things, trying it out, then moving on to another project. I made all these bottles in two days simultaneously. While one is drying I would start another .
 ~EYE OF NEWT JAR~

This is one of my favorite bottles I love the glitter eye ball! I had to go to quite a few stores to get all the pieces I needed to pull off the look I wanted


Here are 4 jars in front of my fan drying...they have just a finishing touch of glitter applied to them.

WHERE DID THE EXPRESSION  eye of Newt come from ? 

This is the well-known incantation of the Three Witches in Shakespeare's Macbeth, 1605:
All:
Double, double toil and trouble;
Fire burn and cauldron bubble.

Second Witch:
Fillet of a fenny snake,
In the cauldron boil and bake;
Eye of newt, and toe of frog,
Wool of bat, and tongue of dog,
Adder’s fork, and blind-worm’s sting,
Lizard’s leg, and howlet’s wing,
For a charm of powerful trouble,
Like a hell-broth boil and bubble.


http://sp.life123.com/bm.pix/newt1.s600x600.jpg
This is Newt! bright orange , ideal  for a witches potion , but remember only the EYE !


I had recently gone shopping at TJ MAXx and found two amber bottles with stickers on them, one wtich hazel the other Clairvoyance oil , I love them, I wanted more. I could not really find any that were more than just a lable, plenty of labels for sale on line. I went to my local Michael s , hauled out the wallet, I have sold allot of art this week, but that is another post all together, and spent around $200 plus on supplies. Much from Martha Stewart collection. They are very much fun to make, a bit tedious to get them just right and highly additive , in fact my plans for today are to make a dozen bottles that will fit into a suitcase , somewhat of a traveling witches case of potions and poisons.

OOak Halloween KITSCH bottle VENOM and Sweet Treats
zoom
OOak Halloween KITSCH bottle VENOM and Sweet Treats OOak Halloween KITSCH bottle VENOM and Sweet Treats OOak Halloween KITSCH bottle VENOM and Sweet Treats OOak Halloween KITSCH bottle VENOM and Sweet Treats OOak Halloween KITSCH bottle VENOM and Sweet Treats
Original design for dressing up your fireplace mantle or kitchen table this glass bottle is dressed up from head to toe! Cute little graphite glitter rats line the base informing you that inside is a sweet, yet venomous treat. Fill with candy corn this is a great gift ! I created a pair for it as seen in the last picture which you can find for sale here.

Entire project is made from quality papers, no digital images used and this design is OOAK , I do not recreate them. Quality contemporary glass jar recycled from my kitchen.

Sunday, April 17, 2011

Fun photo-self portrait of suitcase artist and her friend

The suitcase artist got her own bill board!

Yesterday while on facebook I uploaded a new , well it was an old pic of me because I was considering changing my profile pic. I choose one that was black and white of me while I was n Mexico, I always thought it had a vintage feel, like I was the typical 50s tourist, My friend and artist Victoria Pandora quickly but on my wall this art worked photo version of it. Then a few days later she created the image that you see on top, I have made it my desktop background. I have dreams that the realities created by Victoria Pandora are alternative and attainable .

Catherine Reinke Suitcase artist photo by Victoria Pandora


Here is am image that her husband made for her, she is elegant magical and saves the world each and every day . I love her . We have been friends for years, in fact we lived together as co-families while in Sedona Arizona during some very trying times for myself . It was fact that brought us together. I had signed up for a REIKI class, I wanted to get my mastership in one of the most notable alternative health centers in the USA, we were looking for affordable room and board and came across Victoria's room for rent. Our children , her two girls and mine , hit it off.
These are two other works she made for me, my husband and I and my first born daughter Cassy when she was 6


A year and half later we moved with our Winnebago from Wisconsin and parked in her driveway and lived there for about a year before finding our own place.  Victoria, then as now, is an artist, in fact it is she whom I first learned the fine art of decoupage from. I tried my hand at it while there, and found myself clumsy at best. She created beautiful breathtaking furniture, musical instruments and stained glass. Victoria s work can be found at her newly opened etsy store here


The Goddess Victoria Pandora

Tuesday, March 8, 2011

Funky Pin Up girl christmas Suitcase♥See the process


http://ny-image1.etsy.com/il_fullxfull.194268161.jpg
Finished project
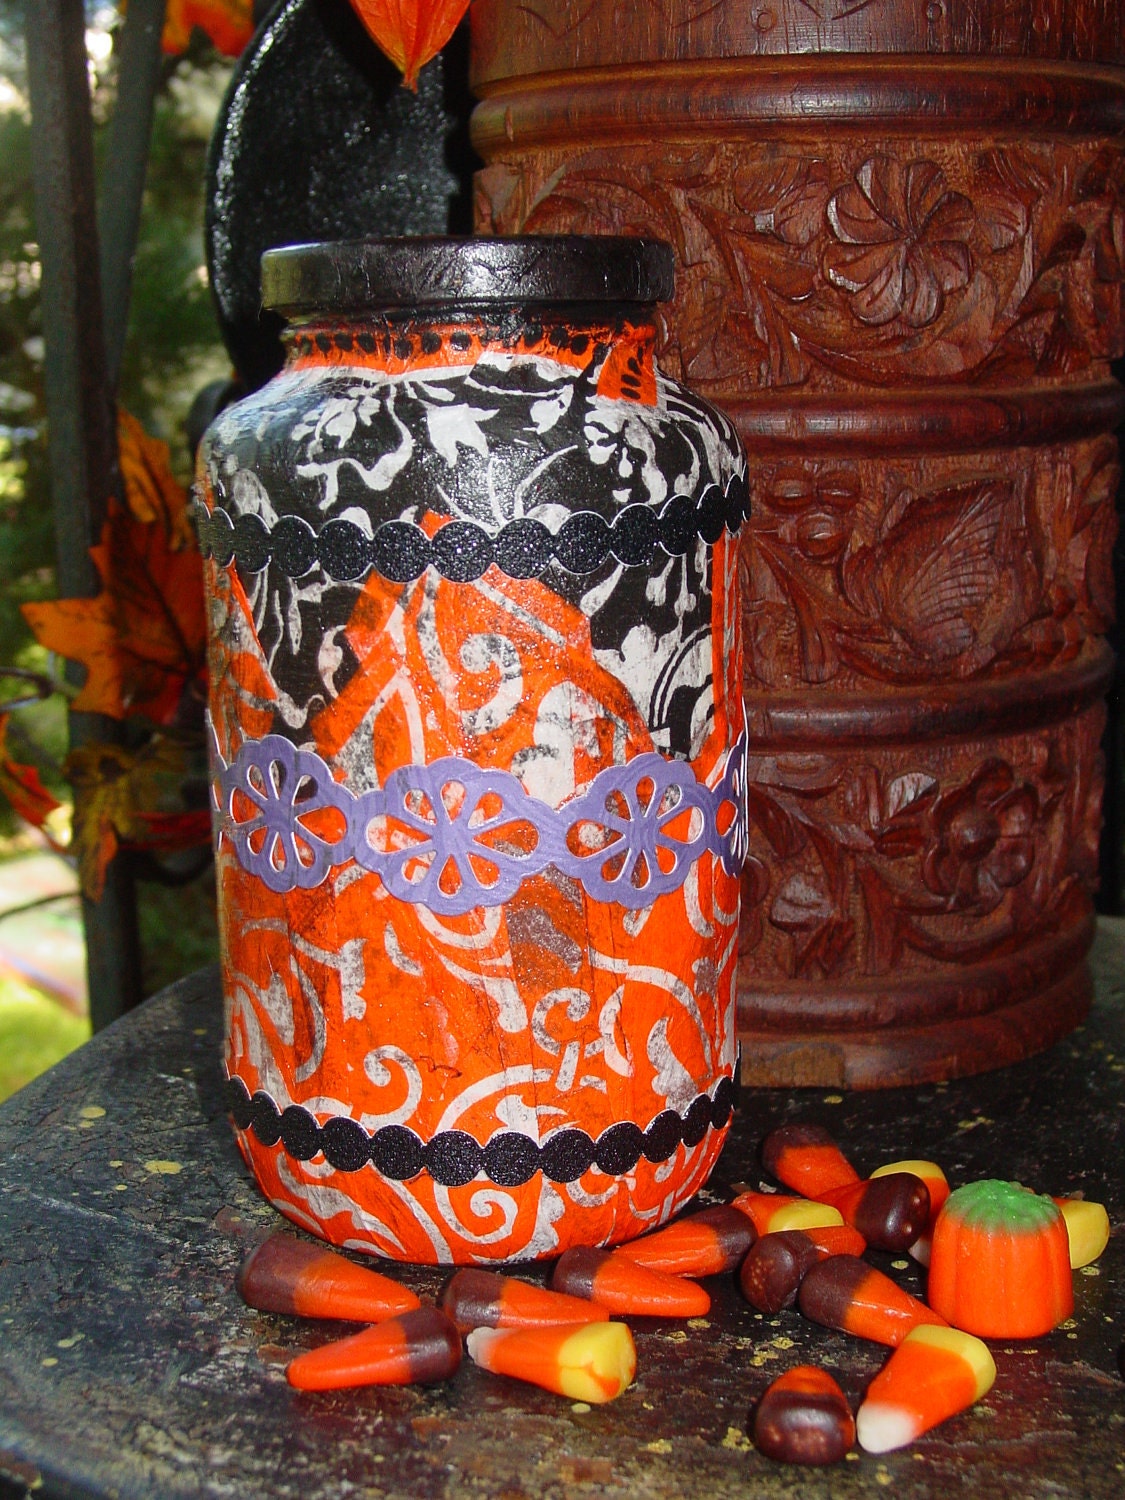
I had previously wrote  about my process in making a Halloween suitcase and have decided now to try to blog most of my creations. One of my reasons is that my sales on etsy.com are going up, I sold two suitcases last week , one which is a custom order. I have found that when I am posting to etsy.com I can only have a total of five pictures which is really not enough to show all the facets of the suitcase. Therefore,  I thought that if I posted each cases process, I could then direct those looking at my suitcases to the link of the post and they can see for themselves how it was created and view more pictures. 

I really like doing Christmas suitcases for they serve several uses. Primarily ,the hard shell  suitcases are durable and are a exceptional  alternative for storage to the flimsy plastic tubs we purchase from the local "World-mart" This is a green option , which is fun to create and will last the test of time.   
I keep the case out during Christmas , often I will store in it the home decor items that I have to remove to replace then with my holiday cheer. I set the case near the tree , it is the first treasure I place under the tree where it patiently waits the other packages for the festive season. 

After  the hectic Holidays I use my case to store my most treasured Christmas items, mostly my handmade stockings, linens and ornaments. I can place the suitcase under my bed , knowing where it is and clearly what it contains . 


STEP 1 : Find your suitcase
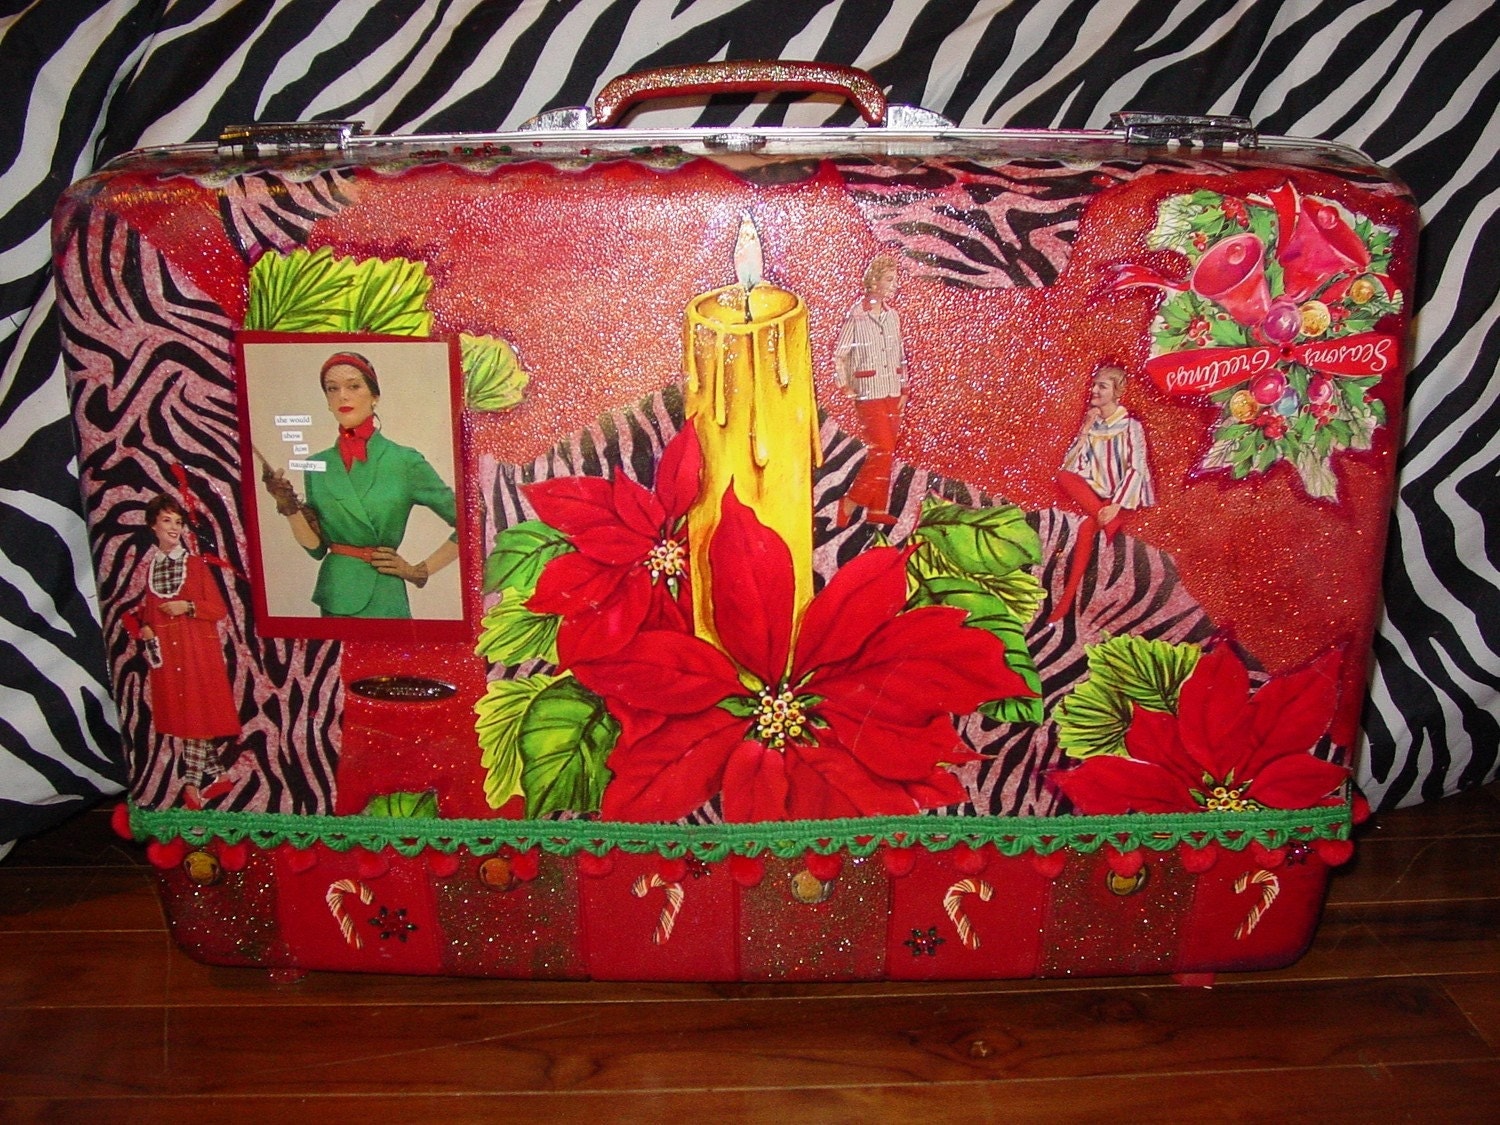
Choose your vintage suitcase, it can be dirty, scratched up, the inside does not need to be in good shape, however this case has a great inside. I choose red because I wanted to use the red elements of the case in my design. Later I will show how you can choose and recycle any color suitcase.


STEP 2: chose papers/fabrics/trims
Select your papers and think out your over all design. I was inspired by two vintage cardboard cutouts that I found at a thrift store for ten cents each. I wanted to make a funky, retro kitsch  Christmas and for me, nothing says funk better than good ol zebra print . I have used  zebra issue paper which  I love to use tissue , as it has a transparent element when mod poded on, is easy to work with  and for the most part is inexpensive.


In addition, I found some vintage Christmas cards and was inspired from an artist book that has vintage women with funny sayings .


I search for old catalogs which I have in my collection to pull images from

 STEP  3: Layout
layout your design . Get a feel  for what  look you are going for. View this like a base coat as other elements will be applied later. Once you are satisfied, remember the placement and begin to apply with Mod Podge. The heavy cardboard pieces required another artist glue to secure.  


I applied the tissue paper first, it is important to keep in your minds eye what the design was in your layout, take a photo that you can go back to , to refresh your memory. sometimes it may be necessary to make markings of your placements.


never forget any side of your suitcase

STEP 4: Mod podge all sides
After the one side has been completed, while it is drying I address the top of the suitcase, bringing in design elements from the front to insure that the overall look is cohesive.


Here is the other side of my suitcase atfer I have applied all the tissue paper, candy-cane vintage cardboard decoration, , images of women in  nightgowns/ slips from the WARD catalog, and other cutouts I found. I added the Santa hat (vintage sticker )  to the man. 

Don't forget the sides bring your design around the edges


STEP 5 : Paint

Choose your color platter of acrylic paints,I recommend acrylics especially when doing a vinyl case. Oils work nicely on leather and cardboard, but nothing beats acrylics on the hard shell suitcase. I prefer to use GOLDEN, They are the most vibrant color you can find. Remember when choosing your colors you want both highlights and low lights to bring the paper images into a seamless state. 

crimson , lime green ,cobalt  blue, yellow and opaque gold


I used a fair amount of Crimson red to brighten the entire red suitcase, I painted out scratches and other imperfections. The cobalt blue was used for shadows, green and yellows for highlights, on edges for example and the gold iridescence (fine) gave the suitcase a lovely shimmer.
Paint the edges of the papers you have applied
Believe that the application of paints is one of the most important steps to a beautiful finished recycled work of art. I blend or scruff in all the edges of the papers. As you can see in this close up I matched the edge of the image with the paint and brought it around the evergreen leaf with is placed in a frame like fashion. I love this step it is relaxing and one can really utilized their painting skills here if they would like. You can extend the image, paint new pictures if you like, be creative! have fun .

Step 6: Apply glitter .
I mix my glitters like paint, using Martha Stewart's fine glitter line and mod podge as the fixative or base, take your time when misting being careful to get the right consistency, remember you can add water to water based mod podge to thin it our.


Mixing  glitters to give depth, use them like paints!


Step 7: Apply the varnish 
Use several layers of thin coats of water based varnish to get the durability you need. By adding this to the case it will be easy to clean with a damp cloth. I put varnish on before I add my trim. Sometimes if I use a thin lace I will varnish over it , you need to decide how you want the overall look to be achieved. there are many varnishes available to chose from and I have used them all, including oil based.  (love oil but you must be very careful with application as if it is done improperly it will yellow...yuck!, however it can be a nice look on Halloween suitcases! ) Find the varnish that works best for you and is in your budget.


Step 8: Apply the Trim

Vintage Trims are especially nice to use on the recycled suitcase project. Keep your eye out at thrift stores, garage sales , grandmas attic , where ever you can for they are precious and give a look that you can not find with traditional store bought trims.


Step 9: Finish the inside


The inside of the case, especially for Christmas if you wish to store ornaments is important. I like to line mine with fabirc, in the past I have added cotton batting to give the case extra softness. I used a rather heavy faux fur zebra print fabric to line this case with. I love how it really ties the entire case together. You can simply use a glue gun for this process. Be sure however that you use the hottest variety, but be careful it burns! Turn the edges over while gluing in the fabric. I added a touch of feathers and a tiny sequin beaded Christmas package to finish it off.
http://ny-image0.etsy.com/il_fullxfull.194268476.jpg
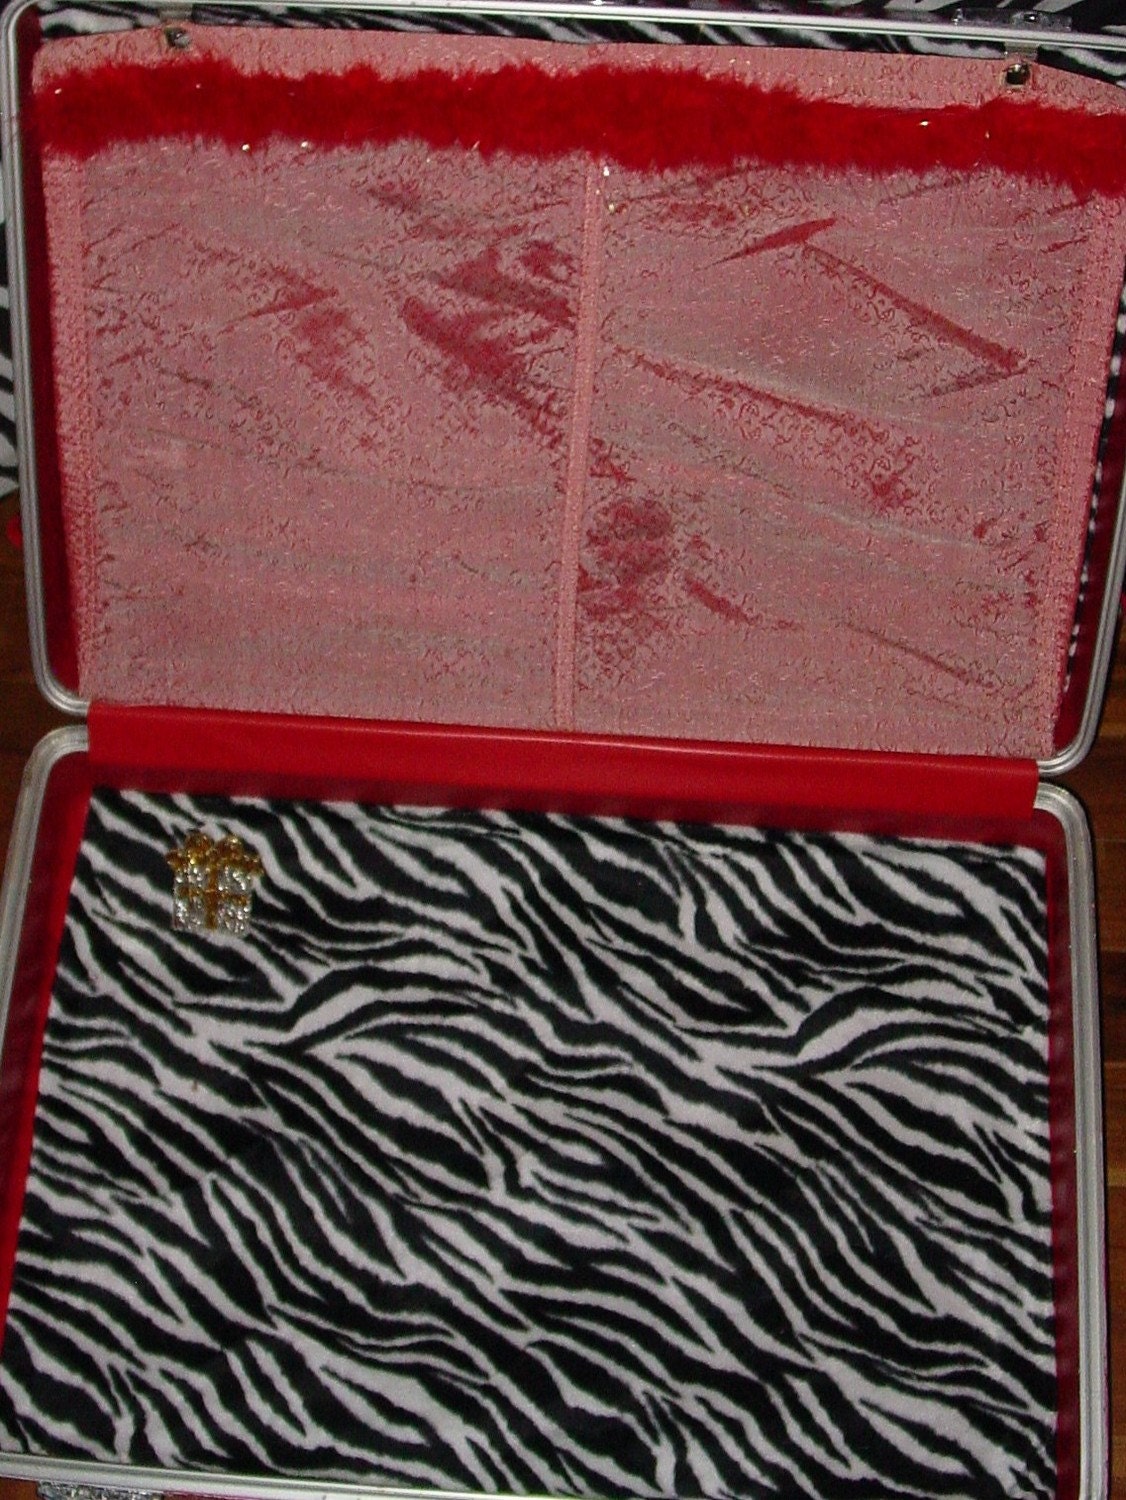
 In this lovely vintage 1960s hard shell case it had the flap to divide the case, which was prefect. I lined both sides as you can see. Think about what you want to use your case for in regards for storage before you begin. I am able to really jam this case full with decorations, with the certainty  that they are safely protected. It is so charming to simply grab the case at the beginning of the season , pop it open and tackle another frantic yet rewarding Christmas season with something that you created for your loved ones. It becomes an heirloom that will be gladly accepted when you choice to gift it.

Saturday, March 5, 2011

SUTICASE SALE !!!


 20 % off my work for just browsing my site!
For finding this post you can receive 20% off on any of my recycled art pieces. Simply click here 
After you find what you are looking for all you have to do is type in this code at check out.
suitcasesale
 Etsy and paypal will take the discount off for you at this time. I am only making this offer here from this web site.


This is the outside of this suitcase which I plan to finish up rather in the near future. I think that I would use it if I started doing sales again, previously while I had my vintage clothing boutique I used this case to fill with scarfs that were on sale. I might get rid of the Sale and make it a groovy case...or put it on line as it is (with new outside) so someone who does do shows can use it. I wi great for packing full of inventory, then all one has to do is pop open the top , put it on the table and presto, instant advertising that is very effective, bright and eye catching. I just found this suitcase in my garage! I didn't remember which one it was because of the outside. It was in storage for a few years and it is good to see big head groovy gal once again.

When I work on this case next I will post the process, I am thinking of vintage fabric or painting bright flowers on
I love this big felt butterfly which I recnetly found and thought would work great with this case


post signature

Walnut made in Japan KITSCH recycled jewerly box


Had such a great time making this box.When I was with my son and his girl frined delivery the sushi table and chair to his dorm room, we went thrifting  and I found several vintage dolls heads including this one. I had been holding on to this precious walnut made in Japan wood box and the colors of the head just seemed a prefect fit. I had no preconceived idea going into this piece, it just happened as most of my work does. It really has that 1970s feel with the fall color pallet I chose.


I love how her eyes look off to the side!

rabbit fur and vintage leaves

glitter and butterflies, vintage leaf pendant and lace

vintage belt buckel


Antique lace and vintage string beads


Too cute


Recycled  KITSCH vintage hardwood jewerly box  by C. Reinke Recycled  KITSCH vintage hardwood jewerly box  by C. Reinke Recycled  KITSCH vintage hardwood jewerly box  by C. Reinke Recycled  KITSCH vintage hardwood jewerly box  by C. Reinke Recycled  KITSCH vintage hardwood jewerly box  by C. Reinke
Walnut wood vintage jewelry with gold glitter velvet lined drawer has been up cycled into this kitsch funky box. I found this doll half head on the road side, cleaned her up and made her into a Eskimo princess (that is real rabbit fur) with plenty of gaudy plastic jewels, string gold and pearl beads a vintage button and vintage metal enameled leaves.

I added some of my cherished antique handmade lace to the edge with a beautiful vintage tortoise shell belt buckle as a center piece.
Size: 10 x 6 x 6 walnut Himark of Japan vintage jewelry box with internal music box, missing key to wind it up (on side)
See more of this piece of art at my blog


post signature