 |
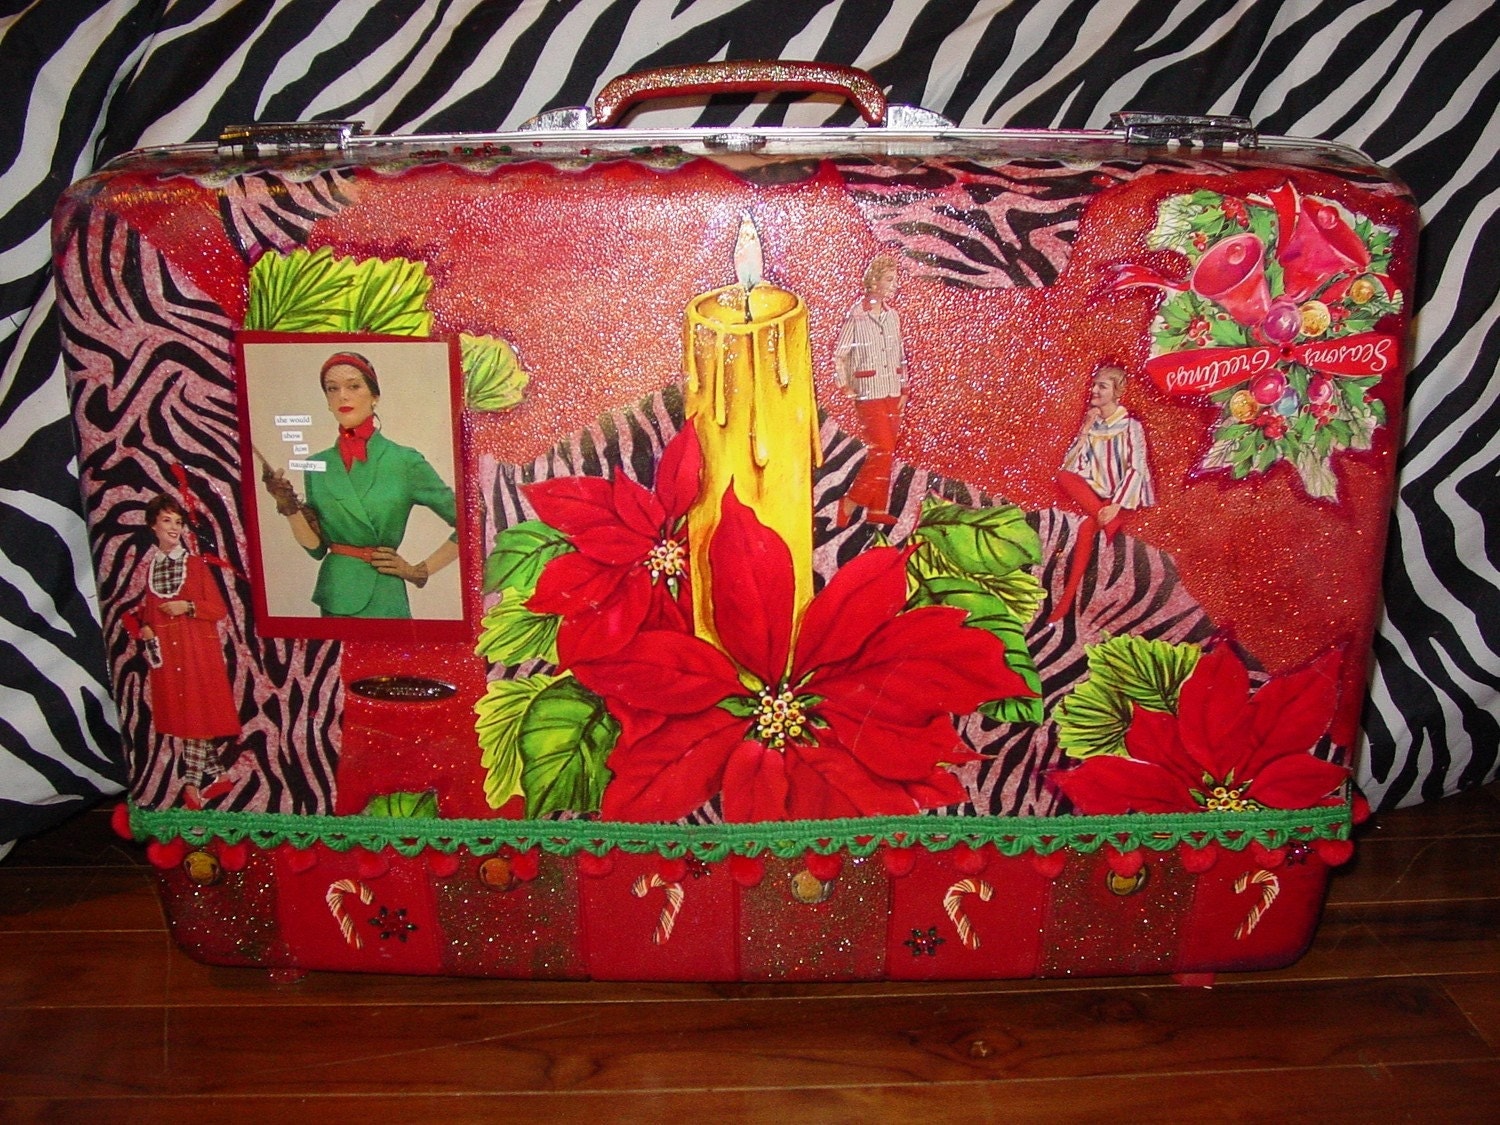
| Finished project |
I had previously wrote about my process in making a Halloween suitcase and have decided now to try to blog most of my creations. One of my reasons is that my sales on etsy.com are going up, I sold two suitcases last week , one which is a custom order. I have found that when I am posting to etsy.com I can only have a total of five pictures which is really not enough to show all the facets of the suitcase. Therefore, I thought that if I posted each cases process, I could then direct those looking at my suitcases to the link of the post and they can see for themselves how it was created and view more pictures.
I really like doing Christmas suitcases for they serve several uses. Primarily ,the hard shell suitcases are durable and are a exceptional alternative for storage to the flimsy plastic tubs we purchase from the local "World-mart" This is a green option , which is fun to create and will last the test of time.
I keep the case out during Christmas , often I will store in it the home decor items that I have to remove to replace then with my holiday cheer. I set the case near the tree , it is the first treasure I place under the tree where it patiently waits the other packages for the festive season.
After the hectic Holidays I use my case to store my most treasured Christmas items, mostly my handmade stockings, linens and ornaments. I can place the suitcase under my bed , knowing where it is and clearly what it contains .
STEP 1 : Find your suitcase
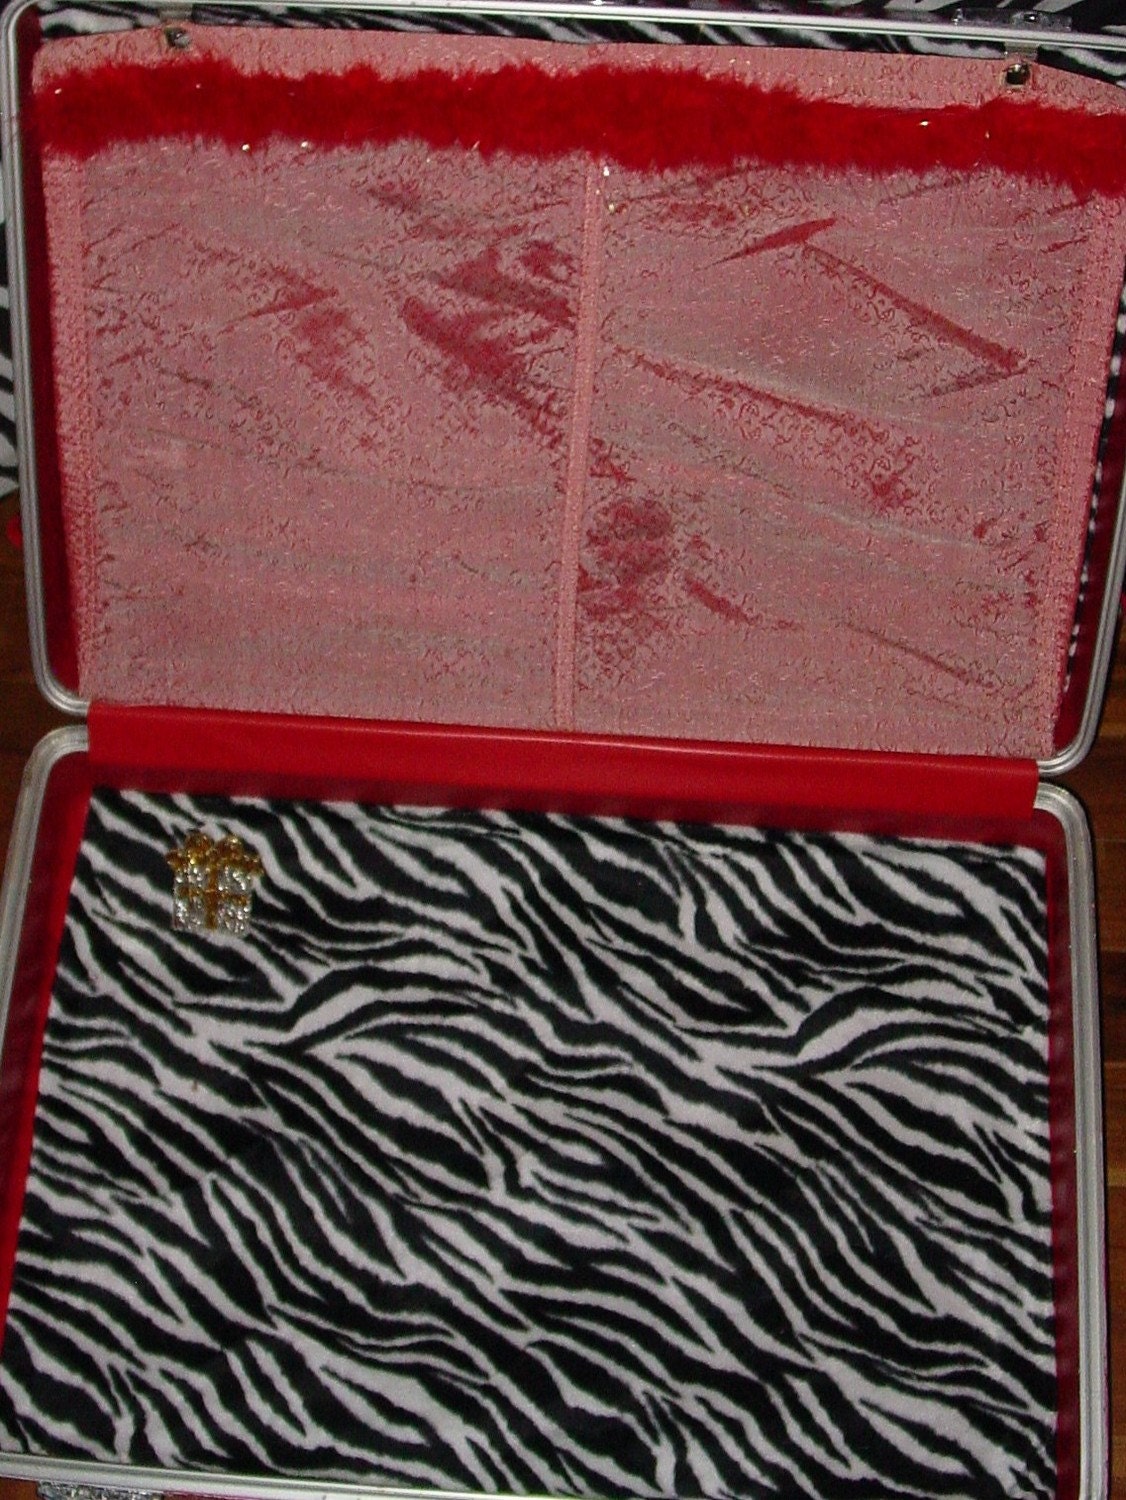
Choose your vintage suitcase, it can be dirty, scratched up, the inside does not need to be in good shape, however this case has a great inside. I choose red because I wanted to use the red elements of the case in my design. Later I will show how you can choose and recycle any color suitcase.
STEP 2: chose papers/fabrics/trims
Select your papers and think out your over all design. I was inspired by two vintage cardboard cutouts that I found at a thrift store for ten cents each. I wanted to make a funky, retro kitsch Christmas and for me, nothing says funk better than good ol zebra print . I have used zebra issue paper which I love to use tissue , as it has a transparent element when mod poded on, is easy to work with and for the most part is inexpensive.
In addition, I found some vintage Christmas cards and was inspired from an artist book that has vintage women with funny sayings .
| I search for old catalogs which I have in my collection to pull images from |
STEP 3: Layout
layout your design . Get a feel for what look you are going for. View this like a base coat as other elements will be applied later. Once you are satisfied, remember the placement and begin to apply with Mod Podge. The heavy cardboard pieces required another artist glue to secure.
| never forget any side of your suitcase |
STEP 4: Mod podge all sides
After the one side has been completed, while it is drying I address the top of the suitcase, bringing in design elements from the front to insure that the overall look is cohesive.
Here is the other side of my suitcase atfer I have applied all the tissue paper, candy-cane vintage cardboard decoration, , images of women in nightgowns/ slips from the WARD catalog, and other cutouts I found. I added the Santa hat (vintage sticker ) to the man.
| Don't forget the sides bring your design around the edges |
STEP 5 : Paint
Choose your color platter of acrylic paints,I recommend acrylics especially when doing a vinyl case. Oils work nicely on leather and cardboard, but nothing beats acrylics on the hard shell suitcase. I prefer to use GOLDEN, They are the most vibrant color you can find. Remember when choosing your colors you want both highlights and low lights to bring the paper images into a seamless state.
| crimson , lime green ,cobalt blue, yellow and opaque gold |
I used a fair amount of Crimson red to brighten the entire red suitcase, I painted out scratches and other imperfections. The cobalt blue was used for shadows, green and yellows for highlights, on edges for example and the gold iridescence (fine) gave the suitcase a lovely shimmer.
| Paint the edges of the papers you have applied |
Believe that the application of paints is one of the most important steps to a beautiful finished recycled work of art. I blend or scruff in all the edges of the papers. As you can see in this close up I matched the edge of the image with the paint and brought it around the evergreen leaf with is placed in a frame like fashion. I love this step it is relaxing and one can really utilized their painting skills here if they would like. You can extend the image, paint new pictures if you like, be creative! have fun .
Step 6: Apply glitter .
I mix my glitters like paint, using Martha Stewart's fine glitter line and mod podge as the fixative or base, take your time when misting being careful to get the right consistency, remember you can add water to water based mod podge to thin it our.
| Mixing glitters to give depth, use them like paints! |
Step 8: Apply the Trim
Step 9: Finish the inside |


No comments:
Post a Comment